
Starting pumpkin seeds indoors is a smart way to give your pumpkin plants a head start on the growing season. From my own personal experience, starting seeds indoors not only ensures stronger seedlings but also allows better control over the growth conditions compared to direct outdoor planting. In this guide, the steps are broken down clearly, covering everything from seed selection to transplanting seedlings into your garden.
Why Start Pumpkin Seeds Indoors?
Pumpkins need a long growing season, typically around 75 to 100 days depending on the variety. In many regions, the outdoor growing season is shorter than this. By starting seeds indoors, you give your pumpkins a head start, ensuring they have enough time to mature before frost hits.
Starting seeds indoors also allows you to:
Control temperature and moisture more effectively.
Protect seedlings from pests and harsh weather.
Ensure higher germination rates compared to sowing seeds directly outside.
What You’ll Need to Start Pumpkin Seeds Indoors
Before planting, it’s important to gather all necessary supplies. Here’s a detailed list:
Pumpkin seeds – Choose seeds based on the variety and size of pumpkins you want.
Seed trays or small pots – Individual cells work best.
Seed-starting soil mix – Avoid garden soil; it can be too dense and may harbor pathogens.
Watering can or spray bottle – Gentle watering prevents disturbing seeds.
Plastic wrap or humidity dome – Helps retain moisture and warmth.
Grow light or sunny windowsill – Ensures seedlings get enough light to grow strong.
Optional Supplies
Labels to mark each variety.
Fertilizer for seedlings (usually diluted liquid fertilizer).
Thermometer to monitor soil temperature.
Choosing the Right Pumpkin Seeds
Not all pumpkin seeds are the same. Selecting the right seeds can affect both growth and flavor. From my own personal experience, heirloom varieties tend to germinate well indoors and produce unique flavors. Common beginner-friendly varieties include:
Sugar Pie – Small, sweet, and ideal for baking.
Big Max – Large pumpkins for carving.
Howden – Classic carving pumpkin.
It’s essential to choose seeds suited for your growing region and season length.
Preparing Seeds for Planting
Pumpkin seeds have a hard outer shell, and pre-soaking them can help improve germination. Here’s a simple method:
Place seeds in a bowl of lukewarm water.
Let them soak for 8–12 hours.
Drain seeds and gently pat them dry.
Soaking softens the seed coat and encourages faster sprouting.
Planting Pumpkin Seeds Indoors
Step-by-Step Guide
Fill the seed tray or pots with a high-quality seed-starting mix.
Plant seeds about ½ inch deep into the soil.
Cover lightly with soil and gently press to ensure contact.
Water lightly so the soil is damp but not soggy.
Cover with plastic wrap or a dome to retain humidity.
Place in a warm location – ideally 70–80°F (21–27°C).
Germination Tips
Pumpkin seeds usually sprout within 7–10 days.
Keep soil consistently moist, but avoid overwatering to prevent rot.
Once seedlings emerge, remove the plastic cover to prevent mold growth.
Caring for Pumpkin Seedlings
Light
Seedlings need 12–16 hours of light daily. If natural sunlight is insufficient, a grow light works best. Place the light a few inches above seedlings and adjust as they grow.
Watering
Keep the soil damp but never waterlogged. Overwatering can cause root rot or fungal problems.
Fertilizing
Once seedlings develop their first true leaves, a diluted liquid fertilizer (half strength) can be applied weekly.
Thinning Seedlings
If multiple seeds were planted in one cell or pot, thin them to the strongest seedling. This ensures each plant gets enough nutrients and space to grow.
When to Transplant Pumpkin Seedlings Outdoors
Timing is key. Pumpkins are sensitive to frost and cold soil. Seedlings should be transplanted outdoors:
After the last frost date in your area.
When seedlings have 2–3 true leaves.
When soil temperature is consistently above 60°F (16°C).
Hardening Off Seedlings
Before transplanting, seedlings need to acclimate to outdoor conditions:
Start by placing seedlings outside for 1–2 hours in partial shade.
Gradually increase exposure over 7–10 days.
Avoid transplanting on extremely windy or hot days.
Transplanting Into the Garden
When seedlings are ready:
Dig a hole slightly larger than the seedling’s root ball.
Gently remove the seedling from its pot, keeping roots intact.
Place in the hole and backfill with soil.
Water thoroughly to settle the soil around roots.
Spacing Tips
Pumpkins require space to spread:
| Pumpkin Type | Recommended Spacing |
|---|---|
| Small varieties | 2–3 feet apart |
| Medium varieties | 3–4 feet apart |
| Large varieties | 5–6 feet apart |
Proper spacing ensures adequate airflow, reduces disease risk, and supports large fruit growth.
Common Problems and How to Avoid Them
Even with careful planning, seedlings can face challenges:
Damping off – A fungal problem causing seedlings to collapse. Avoid overwatering and ensure proper airflow.
Leggy seedlings – Caused by insufficient light. Move seedlings closer to a light source or increase light hours.
Pests – Aphids and spider mites may attack seedlings. Regularly inspect leaves and treat early if needed.
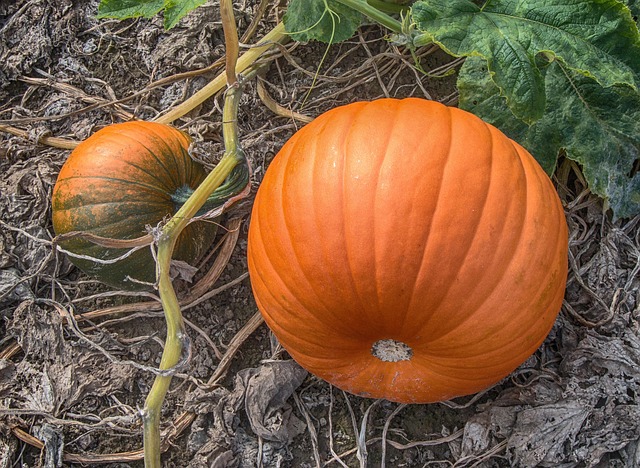
From Seedling to Harvest
Once pumpkins are transplanted, proper care ensures a successful harvest:
Mulching – Helps retain soil moisture and reduce weeds.
Regular watering – Pumpkins need 1–2 inches of water per week.
Fertilizing – Side-dress with compost or balanced fertilizer every 3–4 weeks.
Pollination – Bees are essential; hand-pollination can help if bees are scarce.
From my own personal experience, indoor-started seedlings tend to produce healthier vines and larger pumpkins, especially when transplanted carefully and given plenty of space.
Conclusion
Starting pumpkin seeds indoors is a rewarding process that sets the stage for a strong growing season. With proper planning, consistent care, and patience, seedlings can thrive and produce large, healthy pumpkins. Remember to start early, monitor growth, and provide a nurturing environment both indoors and outdoors.
From my own personal experience, giving pumpkins a head start indoors is one of the most satisfying gardening steps—watching tiny seeds grow into sprawling vines and giant pumpkins is truly magical.


